The quick answer: for most people, setting up a VPN at home means subscribing to a VPN service, installing its app on each device, signing in and tapping Connect. That takes about five minutes. To cover every device in the house at once, including the TV and console, you run the VPN on your router instead. And if what you really want is to reach your home network from outside (cameras, a NAS, your home internet while traveling), you need a VPN server at home, and the easiest way to get one is Tailscale.
Search results mix those three jobs together, which is why so many guides send people down the wrong path. Before any settings screen, decide which of these two things you actually want:
A. You want a VPN at home. Your household’s traffic goes out through a VPN service such as NordVPN, Proton VPN or Surfshark, so your ISP can’t see it and streaming or geo-restricted services see a different location. That is a VPN client, and the question is whether to run it as an app on each device or once, on the router, for the whole house.
B. You want a VPN into home. When you are at a café, on a hotel network or on holiday, your phone and laptop connect back to your house so you can reach the NAS, the security cameras, the printer, or simply use your trusted home internet instead of the hotel’s. That is a VPN server running at home, and it is what most of the “set up a VPN at home” tutorials from before ~2022 describe, usually the hard way.
Both are worth having. They are set up completely differently. This guide covers each in the order of least effort first, then the pitfalls (CGNAT, upload speed, DDNS) that stop the classic method from working, a decision table, and quick fixes for when a VPN won’t work.
Part A: a VPN at home (client)
Option A1: how to get a VPN and set it up on each device (5 minutes)
This is what most people mean by “how do I get a VPN.” The steps are the same on a phone, laptop or tablet:
- Pick a provider. Choose a paid service with an independently audited no-logs policy and apps for every device you own. Our current picks and prices are on the VPN reviews page; for a whole family, check how many devices one plan covers (Surfshark allows unlimited devices, for example).
- Subscribe on the provider’s own website. Direct plans are often cheaper than buying through an app store, and most providers offer a money-back window.
- Install the app from the provider’s site or your phone’s official app store. Avoid look-alike apps with similar names.
- Sign in and tap Connect. The app picks a fast nearby server by default. On a phone, allow the “add VPN configuration” prompt when it appears.
- Turn on the kill switch and auto-connect in the app’s settings, so traffic stops if the tunnel drops and the VPN comes back on by itself after a restart.
- Check that it works. Visit any “what is my IP” site with the VPN on and off. With it on, the location shown should be the VPN server’s, not your town.
A note on free VPNs: most pay for themselves with ads, data collection or tight caps. Proton VPN’s free tier is the exception we’re comfortable pointing people to for a trial; for a household, a paid plan is the practical choice. And the “VPN” page in Windows, macOS, iPhone or Android settings is for entering a work or manual configuration; it doesn’t give you a VPN service by itself, so for a consumer VPN, install the provider’s app.
The app route is the right answer if you want VPN protection mainly on the devices you take out of the house. What it does not cover: the smart TV, the games console, the streaming stick, the smart speakers, and any guest device. None of them run a VPN app.
Option A2 — the VPN client on your router (20 minutes, whole house)
A router-level VPN client puts every device behind the tunnel without installing anything on them. It needs a router whose firmware includes a VPN client and enough CPU to encrypt at your line speed:
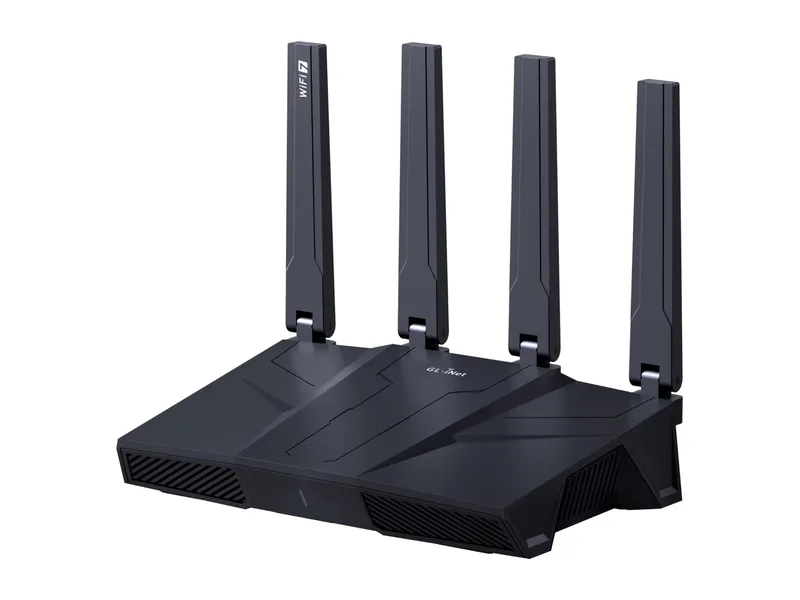
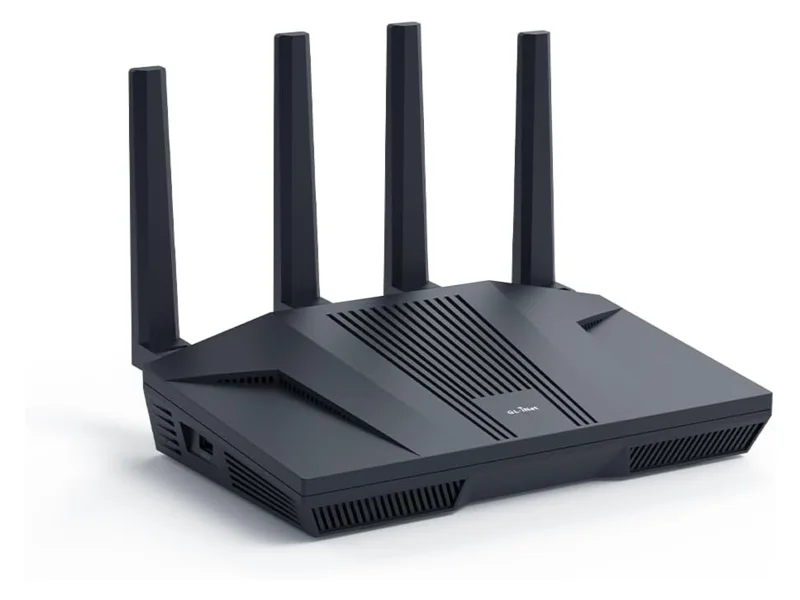
- GL.iNet Flint 2 / Flint 3 / Flint 3e — the easiest of the lot. Admin panel → VPN → WireGuard Client (or OpenVPN client) → Add a new configuration → paste or upload the config file your VPN provider gives you (both apps have one-click presets for 30+ providers) → Connect. Under VPN Dashboard you can choose which devices go through the VPN and which bypass it — so the TV goes through the tunnel and the work laptop does not. GL.iNet quotes up to 680 Mbps WireGuard on the Flint 3 and 3e class; the Flint 2 is rated lower but still gigabit-class for WireGuard.
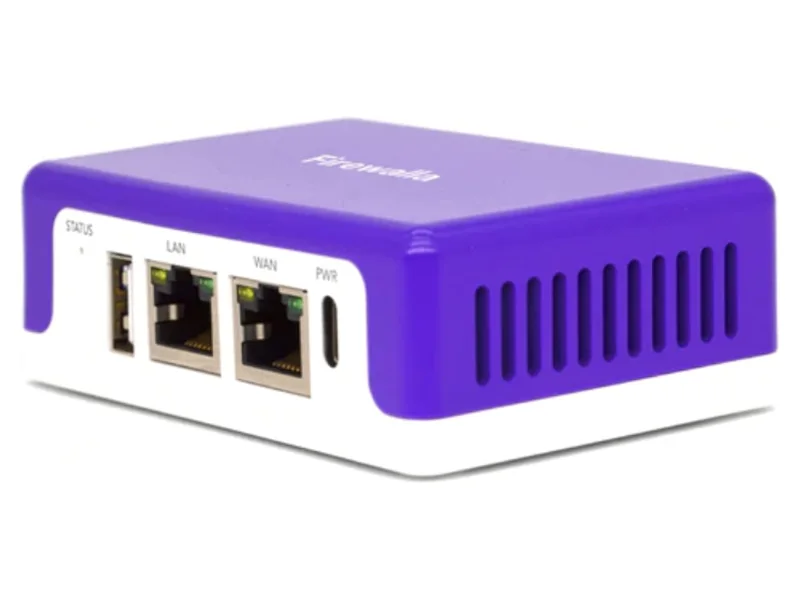
- Firewalla Purple SE / Gold SE / Gold Pro — Firewalla app → VPN Client → Create VPN Connection → choose your provider (WireGuard, OpenVPN and several third-party presets) → paste the config → then use VPN Client rules to send specific devices or groups through the tunnel. Firewalla’s per-device routing is the most family-friendly implementation we know of: “kids’ tablets through the VPN, everything else direct” is two taps. See our Firewalla reviews.
- ASUS routers with Asuswrt — VPN → VPN Fusion (on newer models) lets you run several VPN client tunnels and assign devices to each.
- Most ISP gateways, eero, Google Nest Wifi, most Deco/Orbi mesh kits — no router-level VPN client, or a very limited one. Keep them as access points behind a router that has one, or stick with Option A1.
Two honest caveats. First, a router VPN client makes everything look like it comes from the VPN’s location, which breaks some local services (Google Home setup, some banking apps, printers on cloud print) unless you exempt those devices — use the per-device rules. Second, VPN speed at the router is capped by the router’s CPU; check the router’s WireGuard rating against your internet plan.
Part B: how to VPN into your home network (server)
This is the more useful project and the one where the internet’s advice is most out of date. There are three ways to do it. Start at the top; only go further down if you have a reason to.
Option B1 — Tailscale (10 minutes, no port forwarding, works behind CGNAT)
Tailscale is a “mesh VPN” built on WireGuard. Instead of opening a port on your router and pointing your phone at your home IP address, every device signs in to your Tailscale account and they find each other through Tailscale’s coordination service. There is no port forwarding, no dynamic DNS, and it works on cellular home internet and Starlink where the classic method can’t. The personal plan is free for a household-sized number of devices.
Steps:
- Create a Tailscale account (sign in with Google, Microsoft, Apple or GitHub).
- Install Tailscale on one always-on device at home. Best choices, in order: a router that supports it (GL.iNet Flint 2/3/3e have it under Applications → Tailscale; UniFi and some others via packages), a NAS (Synology and QNAP have official packages), a Raspberry Pi or any always-on PC.
- On that home device, enable subnet routes for your home LAN (e.g.
192.168.8.0/24) so your phone can reach every device at home, not just the one running Tailscale — and optionally enable it as an exit node so all your traffic when away goes out through your home internet. Approve both in the Tailscale admin console. - Install the Tailscale app on your phone and laptop, sign in, toggle it on. When you are away, pick your home device as the exit node if you want your traffic to leave from home.
That is a working home VPN, and it is the answer we give anyone who asks — it removes every step that used to go wrong.
When B1 isn’t the answer: you don’t want a third-party account in the loop, or you want the tunnel to terminate on the router itself with zero dependencies. Then:
Option B2 — the VPN server built into your router (20–30 minutes)
Many good routers now ship a WireGuard (and OpenVPN) server. You enable it, it generates a config or QR code per person, and the WireGuard app on your phone scans it. The router does the encryption; nothing else needs to stay on.
On a GL.iNet Flint 2 / 3 / 3e:
- Admin panel → VPN → WireGuard Server → Start (default port UDP 51820).
- Profiles → Add → name it for the person/device → the router shows a QR code and a config file.
- On the phone, install the official WireGuard app → + → Scan from QR code. On a laptop, import the config file.
- Applications → Dynamic DNS → enable GL.iNet’s free DDNS name so the profile keeps working when your home IP changes (the profile uses that name automatically once it’s on).
- Toggle the tunnel on the phone while on mobile data and confirm you can reach a home device (open the router admin page, or a camera).
On a Firewalla: app → VPN Server → enable → choose WireGuard → Create VPN profile → share the QR/config with the WireGuard app. Firewalla handles the DDNS side itself and will tell you if it detects that your ISP blocks inbound connections. Firewalla also offers “Site-to-Site” VPN between two Firewalla boxes (two homes, or home and parents’ house), which is a lovely feature for family tech support.
On ASUS (Asuswrt 388+): VPN → VPN Server → WireGuard or OpenVPN → Enable → Add a peer → export config. ASUS also has Instant Guard, an even simpler one-tap IPsec server aimed at phones.
On Ubiquiti UniFi gateways: Settings → VPN → VPN Server (WireGuard, OpenVPN or the one-tap Teleport in the WiFiman app).
On AVM Fritz!Box (FRITZ!OS 7.50+): Internet → Permit Access → VPN (WireGuard) — the wizard produces a QR code.
Not available on: eero, Google Nest Wifi, most Netgear Orbi and TP-Link Deco kits (some newer Deco models have added a VPN server — check your model), and nearly all ISP-supplied gateways. If your only router is one of those, use B1, or put a router that has a server in front of it.
Whatever the router, the port it needs — normally UDP 51820 for WireGuard — is opened by the router itself when you enable the server. You only need manual port forwarding if the VPN box sits behind another router (typical when an ISP gateway can’t be put in bridge mode). In that case, forward UDP 51820 on the front router to the VPN box’s IP address, and nothing else.
Option B3 — a Raspberry Pi or old PC (an evening)
Before routers had servers built in, this was the standard answer, and it still works: install PiVPN on a Raspberry Pi (one command downloads and configures WireGuard or OpenVPN), forward UDP 51820 to the Pi, set up DDNS (DuckDNS, No-IP), generate a client with pivpn add, scan the QR code. It costs a Pi and an SD card, it depends on nothing but you — and you are then responsible for updates, backups and remembering it exists. It is a good project; it is no longer the easy path.
A cloud VPS running WireGuard is a variant of this that gives you a VPN near home rather than at home; it protects you on public WiFi but does not reach your LAN, so it solves a different problem.
The three things that break the classic method
1. CGNAT / no public IP. If your ISP uses carrier-grade NAT (very common on 4G/5G home internet, Starlink’s standard tier and some fibre providers), no amount of port forwarding will let a connection in. Signs: your router’s WAN address starts with 100.64–100.127, or 10., or 192.168., and it differs from the address shown by “what is my IP”. Fix: use Tailscale (B1), or ask your ISP for a public/static IPv4 (some charge a few dollars a month), or use IPv6 if the router and ISP support it end to end.
2. Upload speed. When you route your phone through home, its download speed is your home upload speed. On a 500/20 Mbps cable plan, everything you do away from home is a 20 Mbps connection. On symmetric fibre it is a non-issue. Check before you promise the family “the home VPN will be fine for Netflix on holiday”.
3. Your home IP changes. Residential IPs change without warning. Every router with a built-in server has a Dynamic DNS option; turn it on before you generate client profiles, so the profiles point at a name rather than a number that will go stale.
Which one should you set up?
| You want to… | Set up | Effort | Where |
|---|---|---|---|
| Hide traffic from ISP / change location on your phone and laptop | VPN app (A1) | 5 min | provider’s app |
| Same, for the TV, console and every device in the house | Router VPN client (A2) | 20 min | GL.iNet, Firewalla, ASUS |
| Reach cameras/NAS/home network from anywhere, easiest possible | Tailscale (B1) | 10 min | any always-on device |
| Same, no third-party account, terminate on the router | Router VPN server (B2) | 20–30 min | GL.iNet, Firewalla, ASUS, UniFi, Fritz!Box |
| Same, on hardware you fully control, as a project | PiVPN (B3) | an evening | Raspberry Pi |
| Protect yourself on public WiFi but not reach home | Cloud VPS or a VPN app | 30 min / 5 min | VPS provider / app |
If you are still unsure: Tailscale for reaching home, a VPN app for privacy away from home, and buy a router with a proper VPN client the next time you replace one. Our reviews of the GL.iNet Flint 3 and Flint 3e, and the Firewalla Purple SE and Gold SE, cover the boxes that do all of the above from one app.
VPN not working? Quick fixes
Most “how do I make my VPN work” problems come down to a handful of causes. Work down this list in order:
- Check the internet without the VPN. Disconnect the VPN. If pages still don’t load, the problem is your connection, not the VPN.
- Switch servers. A busy or offline server is the most common cause of “connected but nothing loads.” Pick a different city or let the app choose.
- Change the protocol. In the app’s settings, switch between WireGuard (often branded NordLynx or similar), OpenVPN and IKEv2. Some networks block one protocol but not another.
- Close other VPNs and proxies. Two VPN apps, a work VPN profile or a leftover proxy setting will fight each other. Only one tunnel should be active.
- Check the firewall or antivirus. Security software sometimes blocks a newly installed VPN app; allow it in the security app’s settings.
- Restart, then update or reinstall the app. Old app versions stop working when providers retire servers or protocols.
- Try another network. If the VPN works on mobile data but not on a hotel, school or office network, that network is blocking VPN traffic; the provider’s “obfuscated” or stealth mode, if it has one, is built for this.
For a home VPN server that won’t connect from outside, the cause is almost always one of the three problems above: CGNAT, a changed home IP without DDNS, or a port that isn’t forwarded because the VPN box sits behind another router. Test from mobile data, not from your own WiFi, since connecting to your home’s public address from inside the house can fail even when the server is fine.
Security checklist for any home VPN server
- Update the router/Pi firmware first; enable automatic updates if offered.
- Use WireGuard over OpenVPN unless you have a reason not to — simpler, faster, smaller attack surface.
- One profile per person/device, so you can revoke a lost phone without re-issuing everyone.
- Forward only the VPN port, and only if the server sits behind another router.
- Do not expose the router’s admin page to the internet “to make it easier”; that is what the VPN is for. Our list of router settings to disable covers remote management and UPnP.
- If you stop using it, turn the server off.
Steps reflect the current GL.iNet OS 4.x, Firewalla app, Asuswrt 388-series, UniFi Network and FRITZ!OS menus as of August 2026; vendors move menu items, but the sequence is the same. Speed figures are the vendors’ published maximums; real-world throughput depends on your CPU, your plan and your upload speed as described above.